Authentication
Before it can interact with the EasyStore API, your app must provide the necessary authentication credentials in each HTTP request that it sends to EasyStore. The way to provide these credentials depends on the type of app that you're developing.
An EasyStore app can interact with the EasyStore API on behalf of multiple stores. To authenticate with EasyStore using an app, you'll need to generate the credentials from your Partner Dashboard and then use them to implement OAuth.
Generating credentials from your Partner Dashboard
To create an app:
- From your Partner Dashboard, click Apps > Create app.
- Provide an app name, app URL and redirection URL.
- Click Create app. You will be redirected to your app's overview page, where you can view the Client ID and Client secret that you will need for OAuth.

Making authenticated requests
Your app cannot read EasyStore data without authentication. It must get permission from a user before gaining access to any of the resources in the Public API. This guide will walk you through the authorization process (described in greater detail in the OAuth 2.0 specification).
Step 1: Ask for permission
The first step of the process is to get authorization from user. Your app must begin this flow by requesting a GET
request on the path specified as your 'app url' in the partner dashboard. Requests to this route from a user
that is logged into the app store will include shop, host_url, timestamp, and
hmac query parameters.
It is required that you verify the authenticity of these requests via the provided HMAC.
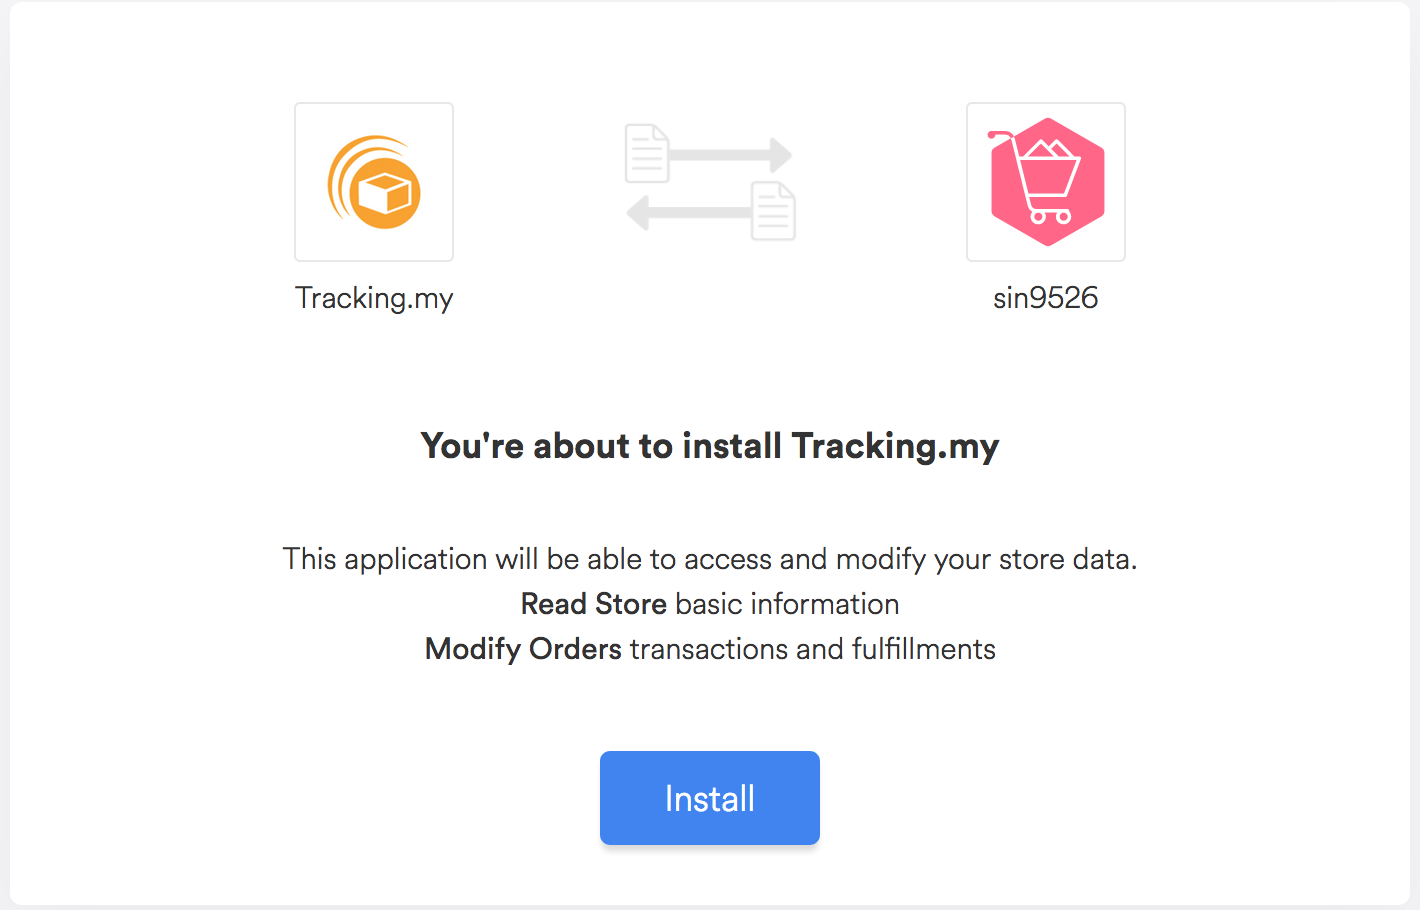
Receiving authorization from the user is done by displaying a prompt provided by EasyStore:

To show the prompt, redirect the user to this URL:
https://admin.easystore.co/oauth/authorize?app_id={client_id}&scope={scopes}&redirect_uri={redirect_uri}
With these substitutions made:
{client_id}- Substitute this with the app's Client ID.{scopes}- Substitute this with a comma-separated list of scopes. For example, to write orders and read customers usescope=write_orders,read_customers.{redirect_uri}- Substitute this with the URL you want to redirect the users after they authorize the app. The complete URL specified here must be identical to one of the Application Redirect URLs. Redirect URL need to be URL encoded.
Step 2: Confirm installation
When the user clicks the Install button in the prompt, they will be redirected to the client server as specified above. One of the parameters passed in the confirmation redirect on the Authorization Code.
https://example.org/some/redirect/uri?code={authorization_code}&host_url={host_url}&hmac=da9d83c171400b123f8db91ai8adhk985×tamp=1477826346&shop={shop}
Before you proceed, make sure your application performs the following security checks. If any of the checks fails, your application must reject the request with an error, and must not proceed further.
- Ensure the provided
hmacis valid. The hmac is signed by EasyStore as explained below, in the Verification section. - Ensure the provided
shopparameter is a valid hostname, that ends witheasy.co.
If all the security checks passed, then the authorization code can be exchanged once for a permanent access token. The exchange is made with a request to the shop.
POST https://{shop}/api/3.0/oauth/access_token.json
With {shop} substituted for the URL of the user's shop and with the following parameters provided in
the body of the request:
client_id: The Client ID for the app.client_secret: The Client secret for the app.code: The authorization code provided in the redirect described above.
The server will respond with an access token:
 {
   "access_token": "f85632530bf277ec9ac6f649fc327f17"
 }
access_token is an API access token that can be used to access the shop's data as long as the app is
installed. Clients should store the token somewhere to make authenticated requests for a shop's data.
Step 3: Make authenticated requests
Now that the client has obtained an API access token, it can make authenticated requests to the Public API. These
requests are accompanied with a header EasyStore-Access-Token: {access_token} where
{access_token} is replaced with the permanent token.
HMAC verification
Every request or redirect from EasyStore to the client server includes an hmac parameter that can be used to ensure that it came from EasyStore.
An example query string:
code={authorization_code}&host_url={host_url}&hmac=da9d83c171400a41f8db91a950508985×tamp=1409617544&shop={shop}
The next step is to remove the hmac entry from the query string. A good way to do this is to transform the query string to a map, remove the hmac key-value pair, and then lexographically concatenate your map back to a query string. This leaves the remaining parameters:
 {
   "code": {authorization_code},
   "host_url": {host_url},
   "shop": {shop},
   "timestamp": "1409617544"
 }
The characters & and % are replaced with %26 and %25 respectively in keys and values. Additionally the = character is replaced with %3D in keys.
Each key is concatenated with its value, separated by an = character, to create a list of strings. The list of key-value pairs is sorted lexicographically, and concatenated together with & to create a single string:
code={authorization_code}&host_url={host_url}&shop={shop}×tamp=1409617544
Lastly, this string processed through an HMAC-SHA256 using the client_secret as the key. The message is authentic if the generated hexdigest is equal to the value of the hmac parameter.
An example in PHP:
<?php
define('EasyStore_APP_SECRET', 'easystore_hush');
function verify_hmac($message, $message_hmac)
{
$calculated_hmac = hash_hmac('sha256', $message, EasyStore_APP_SECRET);
return hash_equals($message_hmac, $calculated_hmac);
}
$message_hmac = "06e2fb033240a94bfa4f82113f4fe9b73e92006cf0006570df4292b914372914";
$message = "code=xxxxxxxxxxxxxxxxxxxTZ6azRTVT0&host_url=hosturl.easy.co&shop=easystore.easy.co×tamp=1477826346";
$verified = verify_hmac($message, $message_hmac);
error_log('HMAC verified: '.var_export($verified, true));
//check error.log to see the result
?>